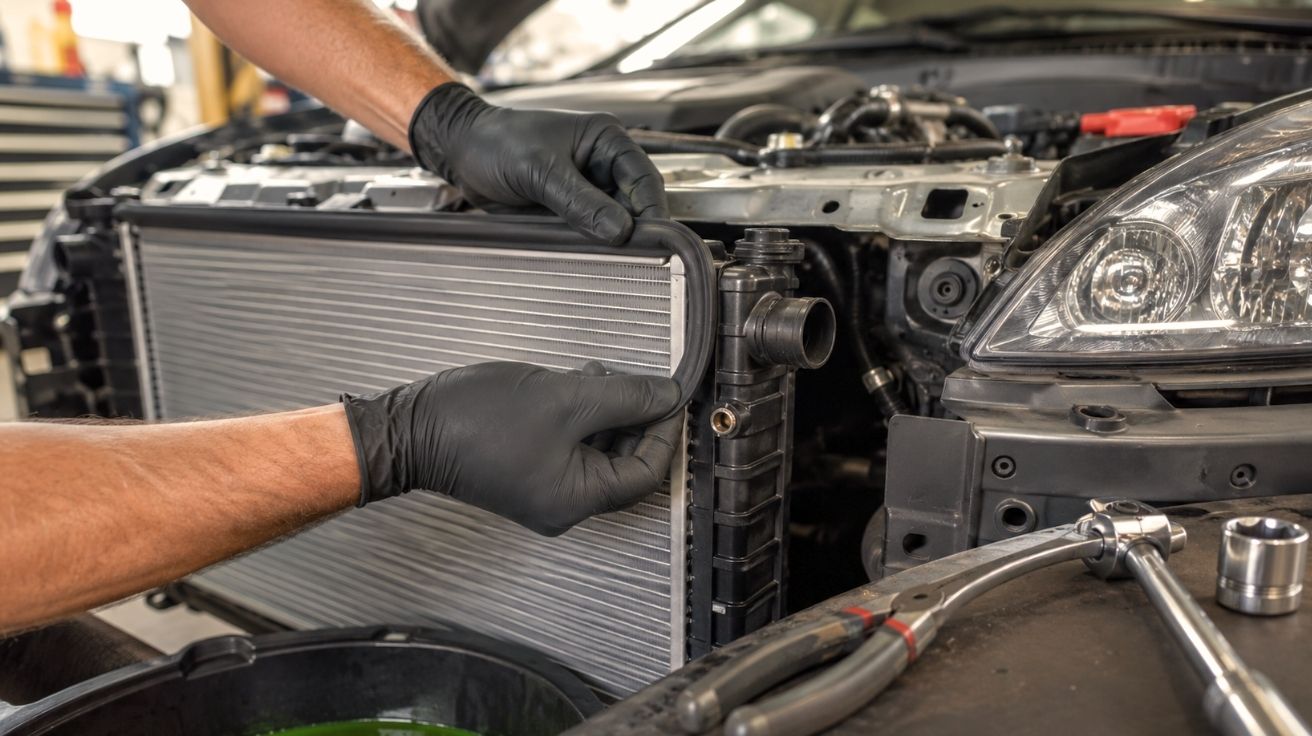

For most car owners, a cooling system problem announces itself gradually — a slow temperature climb on the dashboard, a faint smell of coolant after a drive, or a small puddle beneath the engine bay that wasn’t there last week. These early signs are easy to dismiss, but they often point to a single, manageable cause: a failing seal between the radiator and one of its connected components. In many cases, the fix does not require a shop visit or a significant parts budget. It requires patience, the right replacement part, and a clear understanding of what you’re working with before you begin.
Radiator gasket replacement is one of the more accessible DIY cooling system repairs available to a home mechanic. That said, accessible does not mean casual. Cooling systems operate under pressure, and any error in reassembly can result in a worse leak than the one you started with. This guide walks through the replacement process in a logical sequence, covering the reasoning behind each step rather than just the steps themselves.
Understanding What a Radiator Gasket Does and Why It Fails
A radiator gasket is a sealing component positioned between the radiator tank and the radiator core, or in some configurations between the radiator and its connecting hose fittings or transmission cooler lines. Its job is to maintain a pressure-tight, leak-free boundary so that coolant circulates through the system without escaping. When this seal degrades, coolant finds a path out — sometimes as a slow seep, sometimes as a more visible drip. Understanding the function of a radiator gasket helps you recognize when one is actually the source of the problem, rather than assuming it’s a cracked hose or a loose clamp.
Gaskets in cooling systems fail for several reasons. Thermal cycling — the repeated expansion and contraction of metal components as the engine heats and cools — gradually hardens and compresses the gasket material over time. Most OEM gaskets are made from rubber or a rubber-composite material, and extended exposure to heat, coolant chemistry, and pressure causes this material to lose its elasticity. Once it can no longer conform to the mating surfaces, a gap forms and coolant escapes.
Identifying the Correct Failure Point Before Disassembly
One of the more common mistakes in DIY cooling system repair is replacing the wrong component. A coolant leak near the radiator could originate from a damaged tank, a cracked end cap, a degraded hose connection, or the gasket itself. Before purchasing parts or picking up a wrench, inspect the radiator carefully when the engine is cold. Look for dried coolant residue — it typically appears as a crusty or crystallized deposit in white, orange, or green depending on the coolant type in your vehicle. Residue concentrated at the seam between the plastic tank and the aluminum core is a strong indicator that the gasket is the source.
If the leak is distributed more broadly or originates from a different location entirely, replacing the gasket will not solve the problem. Time spent in accurate diagnosis before disassembly saves both parts cost and labor time on the back end.
Tools and Materials Needed for the Job
Radiator gasket replacement at home does not require specialized tooling, but it does require a clean and organized working environment. The repair involves draining the cooling system, removing the radiator or radiator tank depending on your vehicle’s design, replacing the gasket, and reassembling everything to spec. Each phase has its own material requirements, and gathering everything before you begin prevents mid-repair delays.
What to Have on Hand Before You Start
The materials list for this job is straightforward but worth assembling carefully. The gasket itself must be the correct part number for your specific vehicle make, model, and year — a generic seal that fits loosely will fail under pressure in the same way the original did. Beyond the gasket, you will need a catch container for draining coolant, fresh coolant matched to your manufacturer’s specification, distilled water for dilution, and basic hand tools including socket sets and pliers for hose clamps.
- A vehicle-specific replacement gasket confirmed against your year, make, and model
- A drain pan with sufficient capacity for the full coolant volume of your cooling system
- Fresh coolant that matches the type currently in the system — mixing incompatible types degrades corrosion protection
- Distilled water for mixing or flushing, since tap water introduces mineral deposits
- Basic hand tools: ratchet set, flathead and Phillips screwdrivers, hose clamp pliers
- Clean rags and a parts cleaning brush for surface preparation
- Gloves and eye protection, since coolant is toxic and should not contact skin
Draining the Cooling System Safely
Before any component is removed, the cooling system must be fully depressurized and drained. Working on a hot or pressurized system creates a real risk of burns and coolant spray. Allow the vehicle to sit until the engine is at ambient temperature — typically several hours after the last drive. Never open the radiator cap on a warm engine.
How to Drain Without Contaminating the Work Area
Most radiators have a drain petcock located at the lower corner of the radiator body. Opening this valve allows coolant to flow into your catch container. If your radiator does not have a drain valve, the lower radiator hose can be disconnected at the radiator end to allow drainage. Position your container carefully before disconnecting anything, since coolant flows quickly once a pathway is opened.
Once drained, cap or plug the drain point before moving further. Coolant should be disposed of through a recycling facility or automotive shop — it is harmful to animals and should not be poured down a drain or left exposed outdoors. The U.S. Environmental Protection Agency classifies used antifreeze as a hazardous waste in many states, and local disposal regulations vary, so it is worth confirming the correct process in your area before draining.
Removing and Replacing the Gasket
With the system drained, the radiator tank or the relevant component housing the gasket can be accessed. In many vehicle designs, the plastic end tanks on the radiator are held in place by crimped metal tabs on the aluminum core. These tabs must be carefully bent back to release the tank. In other designs, the tank is bolted directly to the core with a conventional fastener pattern. Identify your configuration before applying force — crimped-tab radiators require a specific tool or careful use of a flathead screwdriver to avoid cracking the plastic tank.
Surface Preparation and Gasket Seating
Once the tank is removed, the old gasket will be visible in the groove that runs around the perimeter of the tank or core seating surface. Remove the old gasket completely — do not layer a new seal over a degraded one. Use a parts brush and clean rag to remove any remaining material, dried coolant, or debris from the groove. The mating surfaces must be clean and smooth before the new gasket is seated.
Press the new gasket evenly into the groove, ensuring it sits fully and uniformly around the entire perimeter. An uneven seat — where the gasket is bunched in one section and stretched in another — will create a gap once the tank is reinstalled and the system returns to operating pressure. Take the time to work the gasket into position carefully before reassembling.
Reinstalling the Tank and Torquing Fasteners
With the gasket properly seated, the tank can be repositioned against the core. If your radiator uses crimped tabs, work around the perimeter gradually and evenly, re-crimping each tab with a radiator tab tool or carefully with pliers. Do not crimp aggressively in one area while other tabs are still open — uneven pressure distorts the tank seating and compromises the seal. For bolted designs, tighten fasteners in a cross pattern, working from the center outward to distribute clamping load evenly.
Refilling the System and Checking for Leaks
Once the radiator is reassembled, reconnect all hoses, close the drain petcock, and begin refilling the cooling system. Fill slowly to reduce air pockets, and use the correct coolant-to-water ratio specified in your owner’s manual. Many vehicles require a specific bleed procedure to purge air from the system — this varies by make and model but typically involves running the engine at idle with the heater on and the reservoir cap open until the thermostat opens and coolant circulates fully.
Confirming the Repair Before Returning the Vehicle to Normal Use
After reaching operating temperature, allow the engine to cool again and inspect the repaired area for any sign of moisture or residue. A single heat cycle is not always enough to confirm a clean repair — check the area again after several drives. Monitor the coolant level in the reservoir over the following week. A stable level with no visible residue at the tank seam confirms the repair was successful. A slow drop in coolant level or new residue forming indicates the gasket is not fully sealed and the process should be revisited.
Closing Thoughts
Replacing a radiator gasket at home is well within the range of what a careful, methodical car owner can accomplish without professional assistance. The repair is not complicated, but it does reward preparation and attention to detail at each stage. Accurate diagnosis before disassembly, proper surface preparation, correct gasket seating, and a thorough post-repair verification process are the factors that determine whether the repair holds long-term or becomes a recurring problem.
The cost difference between a home repair and a shop visit for this job can be significant, and for car owners comfortable working with their cooling systems, the process described here is a reasonable and practical option. What matters most is approaching the job without shortcuts — a well-executed gasket replacement can restore cooling system integrity for years of normal driving without further attention.
Read Moe: Custom Rubber Part Sourcing for Automotive and Industrial Programs


Leave a Comment