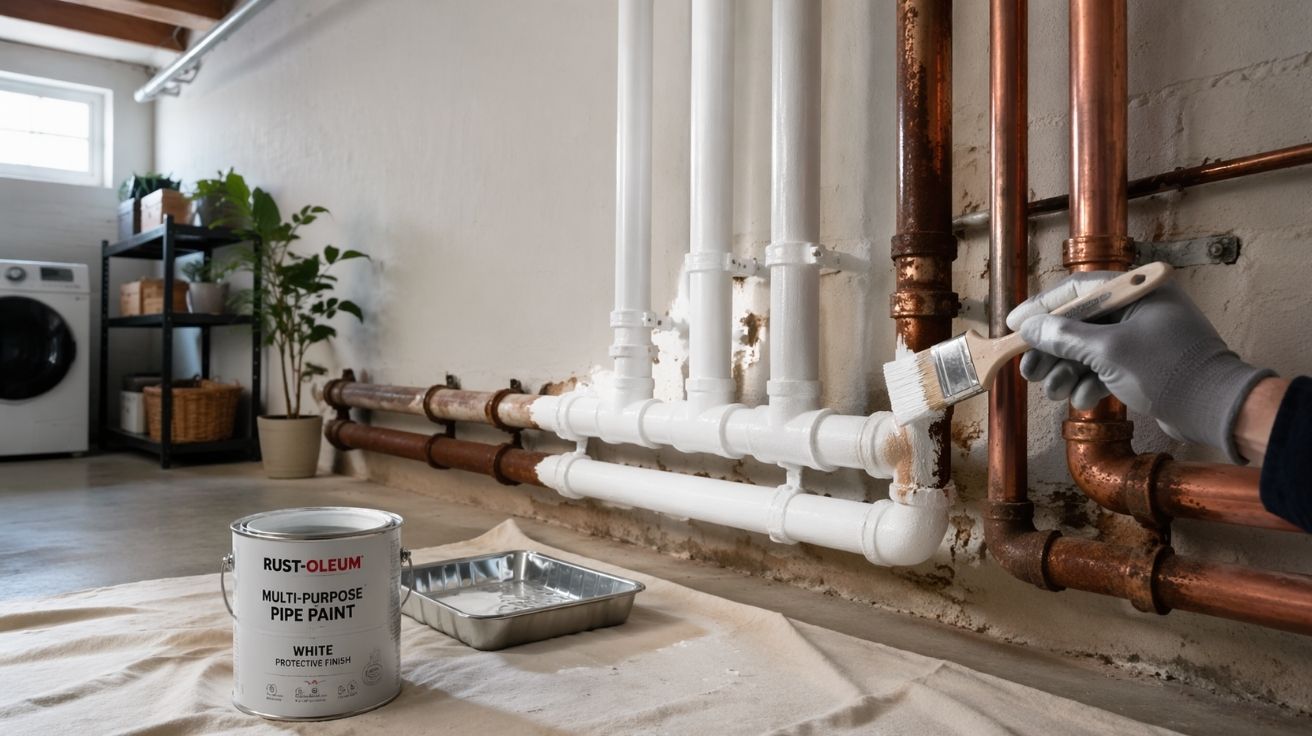

Maintaining and improving your home is a never-ending task, but one of the most overlooked aspects of home improvement is the state of your plumbing system. In the United Kingdom, plumbing plays a critical role in every household, ensuring the smooth flow of water and overall functionality. However, did you know that painting your plumbing pipes can not only enhance their aesthetic appeal but also improve their durability?
In this comprehensive guide, we’ll explore the importance of plumbing in the UK, practical steps for painting house plumbing pipes, and why you should consider this as part of your home improvement routine. Let’s dive in!
Why Plumbing is Essential in the UK
The UK’s plumbing system is the backbone of any home, ensuring access to clean water and the proper disposal of wastewater. With a rich history of technological advancements, the UK plumbing industry has set high standards in water conservation, efficient heating systems, and pipework designs. Here’s why it’s so important:
- Water Supply: Reliable plumbing ensures clean and safe water for drinking, cooking, and bathing.
- Heating Systems: Plumbing is essential for the proper functioning of central heating systems, which are indispensable in the UK’s chilly climate.
- Sanitation: Efficient plumbing prevents hygiene issues by ensuring proper drainage and waste removal.
- Home Value: Well-maintained plumbing systems can significantly boost the value of your property.
Given its importance, it’s crucial to maintain your plumbing system to avoid costly repairs and disruptions. One way to do this is by painting your plumbing pipes, which not only preserves them but also adds a touch of style to your home interior.
Why Paint Your Plumbing Pipes?
When it comes to home improvement, painting plumbing pipes often gets overlooked. However, there are several benefits to doing so:
- Rust Prevention: Metal pipes, especially those made of iron or steel, are susceptible to rust. A layer of paint acts as a protective barrier against moisture.
- Aesthetic Appeal: Exposed pipes can be an eyesore. Painting them to match your walls or décor can enhance the overall look of your home.
- Extended Lifespan: Painted pipes are better protected against environmental factors, ensuring they last longer.
- Cost-Effective Solution: Instead of replacing old pipes, a fresh coat of paint can give them a new lease on life.
Steps to Paint Your Plumbing Pipes
If you’re ready to give your plumbing pipes a makeover, follow these simple steps to ensure a professional-looking finish.
Step 1: Gather Your Supplies
Before you start, make sure you have the following items on hand:
- Sandpaper or a wire brush.
- A degreaser or soapy water.
- Painter’s tape.
- Primer suitable for metal or PVC (depending on your pipe material).
- Paint (heat-resistant paint if pipes carry hot water).
- Paintbrush or spray paint can.
Step 2: Prepare the Pipes
Preparation is key to a smooth paint job. Start by:
- Cleaning the pipes thoroughly to remove dirt, grease, and grime.
- Sanding the surface lightly to create a texture that allows the paint to adhere better.
- Covering nearby walls or flooring with painter’s tape or drop cloths to avoid accidental spills.
Step 3: Apply Primer
Use a primer specifically designed for the type of pipe you’re painting. For metal pipes, choose a rust-inhibiting primer. For PVC pipes, use a primer that bonds well with plastic. Allow the primer to dry completely before moving on to the next step.
Step 4: Paint the Pipes
- Choose a paint that complements your home’s interior. For hot water pipes, use heat-resistant paint to ensure durability.
- Apply the paint evenly using a brush or spray can. If necessary, apply multiple thin coats rather than one thick coat to avoid drips or uneven coverage.
- Allow each coat to dry completely before applying the next.
Step 5: Final Touches
- After the paint has dried, carefully remove the painter’s tape.
- Check for any missed spots or imperfections and touch them up as needed.
- Let the paint cure fully before using the pipes (refer to the paint manufacturer’s instructions for curing times).
Common Mistakes to Avoid When Painting Pipes
While painting your plumbing pipes can be a straightforward process, there are a few common mistakes to watch out for:
- Skipping the Primer: Primer is essential for ensuring the paint adheres properly and lasts longer.
- Using the Wrong Paint: Not all paints are suitable for pipes, especially those that carry hot water.
- Neglecting Safety: Always paint in a well-ventilated area and wear protective gear to avoid inhaling fumes.
Plumbing Tips for UK Homeowners
To maintain the efficiency and longevity of your plumbing system, keep these tips in mind:
- Regular Maintenance: Schedule routine inspections to catch and fix leaks, clogs, or other issues early.
- Insulate Pipes: Prevent frozen pipes during the UK’s cold winters by insulating exposed pipework.
- Avoid Chemical Drain Cleaners: Over time, these can corrode pipes. Opt for natural solutions like baking soda and vinegar.
- Know Your Shut-Off Valve: Familiarize yourself with the location of your main water shut-off valve in case of emergencies.
Conclusion
Painting your plumbing pipes is a simple yet effective way to improve both the functionality and appearance of your home. By following the steps outlined above, you can protect your pipes from rust, enhance your home’s aesthetic, and save money on replacements.
For more expert tips on plumbing and home improvements, visit homecomfortexperts.co.uk. Home Comfort Experts provides a wealth of free resources, including plumbing tips and tricks, DIY guides, and advice on elevating your living spaces. Whether you’re a seasoned DIY enthusiast or a beginner, their insights are invaluable for creating a comfortable and well-maintained home.
By taking proactive measures like painting your plumbing pipes and following expert advice, you can ensure your home remains functional, stylish, and ready to face any season. Happy home improving!
Read More: Energy-Saving Strategies for Stay-at-Home Parents


Leave a Comment